Rolling Pin made from Sapele and Oak. Bracket was 3D printed in PLA. Files for bracket available below.


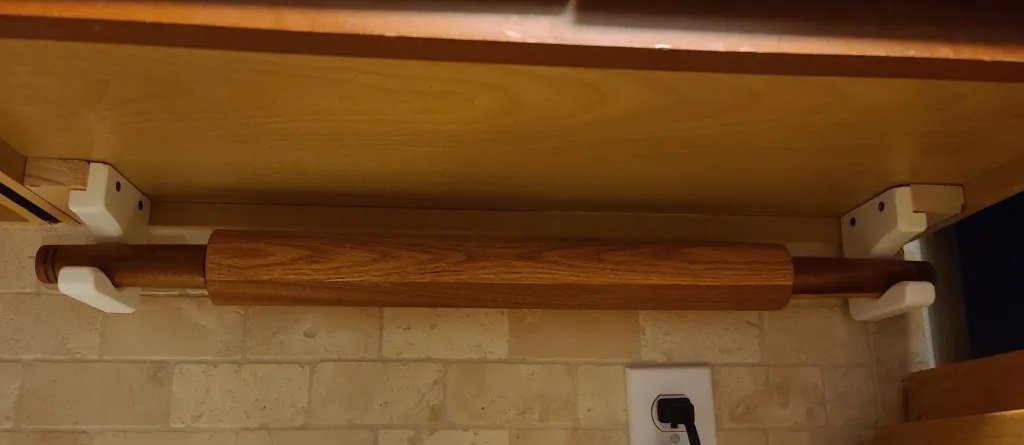
Rolling Pin made from Sapele and Oak. Bracket was 3D printed in PLA. Files for bracket available below.


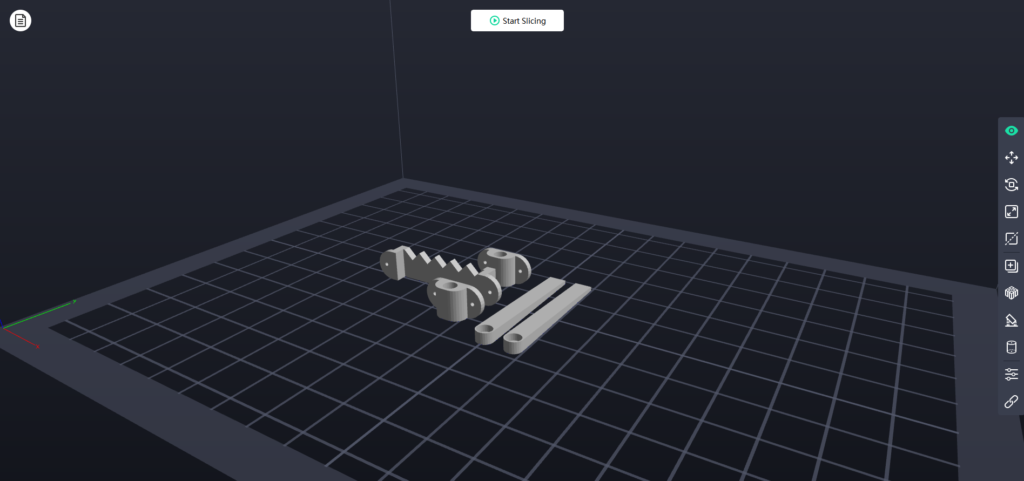
Designed for the back of frames/signs to allow you to either hang it on the wall or sit it on a desk. Designed in Freecad printed in PLA. STL and Freecad files available to download below. Uses a knurled insert and M2 screw for the kick stand, and 1/4″ screws to attach both to the wood

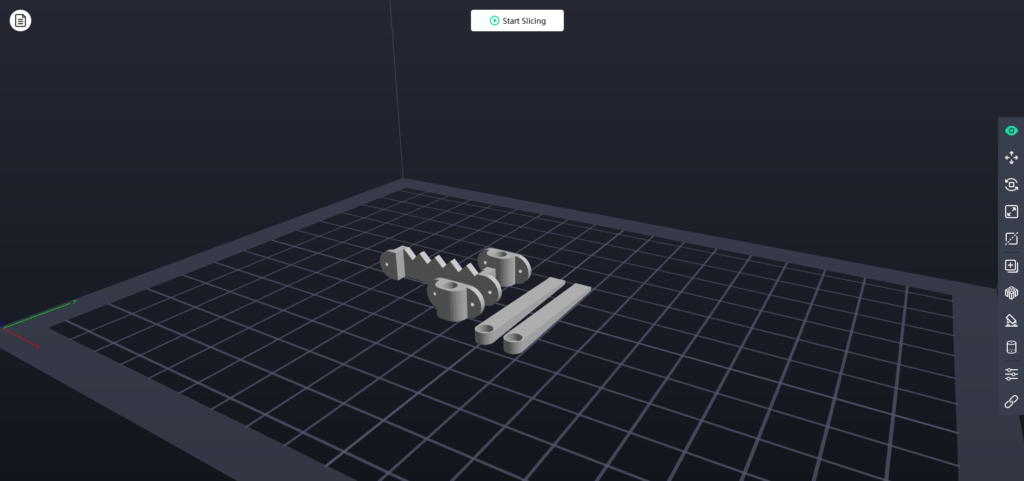
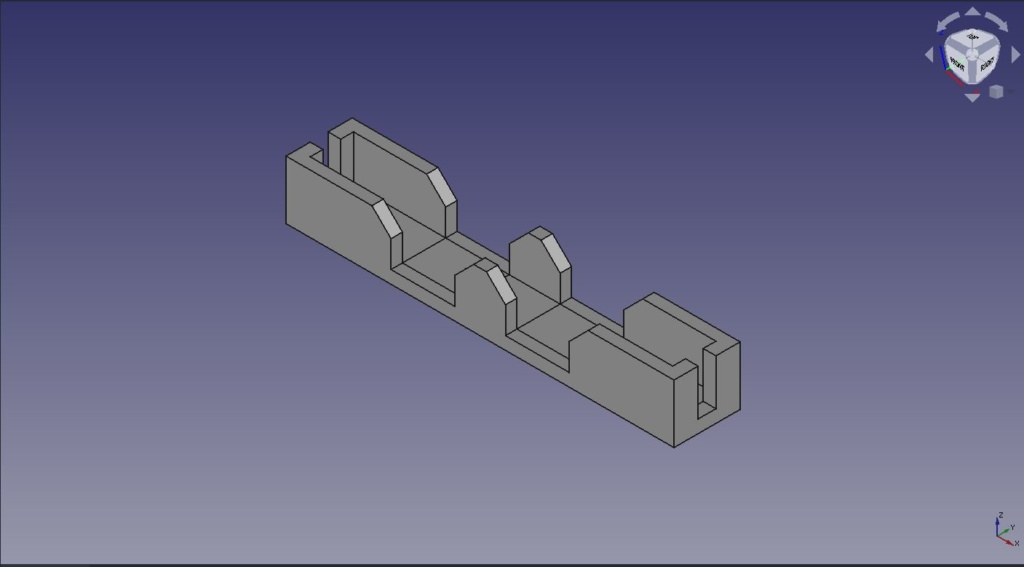
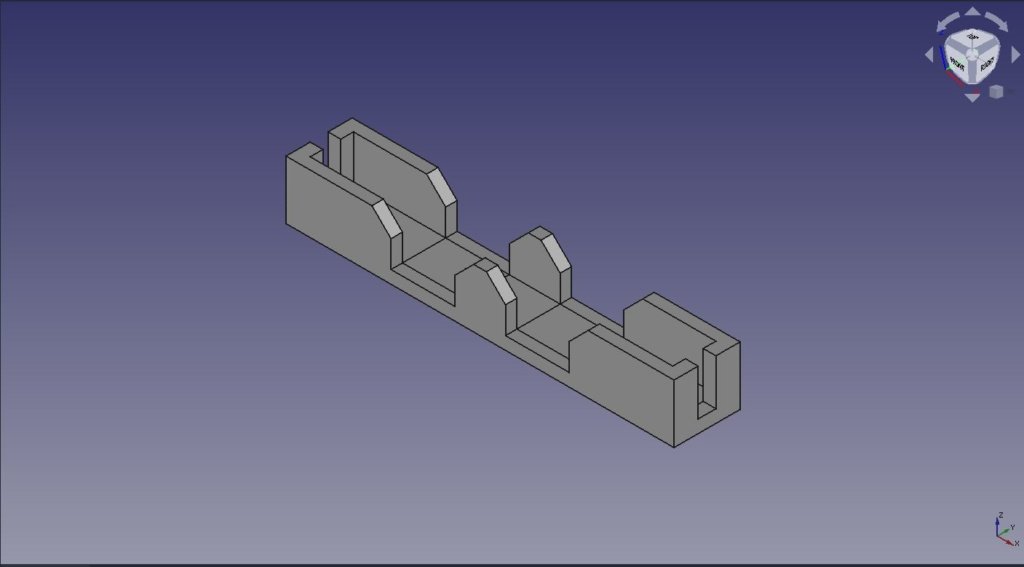
Small Plastic Clip to hold standard arduino male/female wires together. STL and Freecad files available below. Printed in Black PLA on a Flashforge Creator Pro 2.





Black walnut with pine, laser engraved and with leather enclosure.

Laser cat toy that randomly moves a laser pointer on the ground.
Randomly moves the laser left and right in a 140 degree window.
Randomly moves the laser up and down in a 55 degree window.
Holds the laser in place for a random amount of time between 1 and 3 seconds.
Will randomly “shake” the laser 1 out of every 4 movements, with a “shake” between 3 and 12 shifts back and forth.
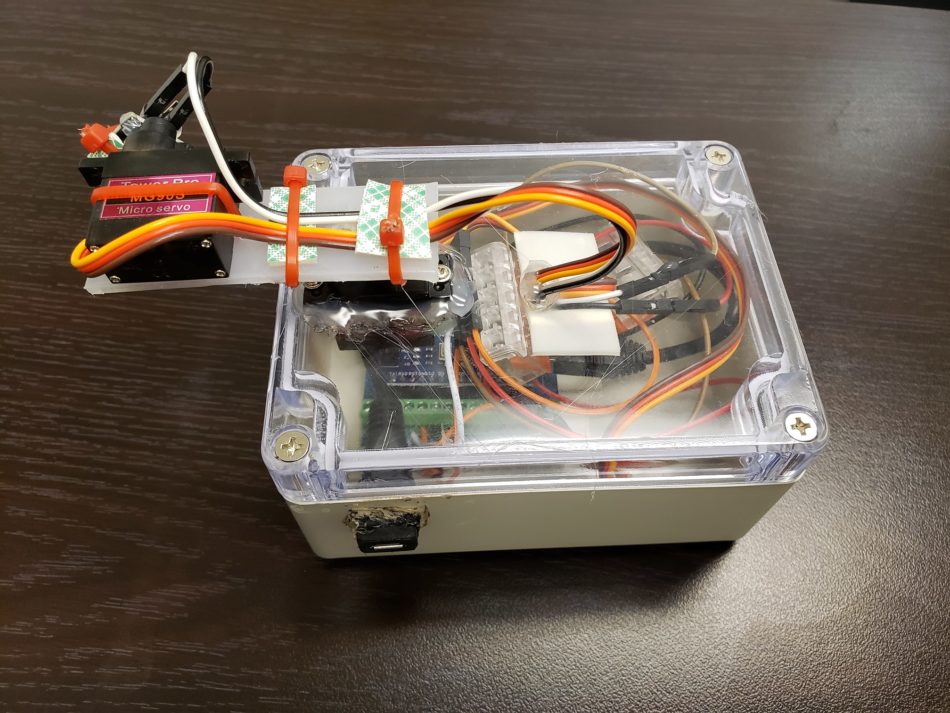
Necessary Materials:
Arduino nano: Link via Amazon
Laser Transmitter: Link via Amazon
MG90S Micro Servo: Link via Amazon
Micro or Mini USB Cable (depending on if you use the adapter below): Micro or Mini
USB plug: Link via Amazon
Zip Ties: Link via Amazon
Additional Materials that are helpful (but can be made without):
USB mini to micro adapter: Link via Amazon
Lever Nuts Connector: Link via Amazon
Junction Box (4.53×3.54X2.1): Link via Amazon
3M Mounting Tape: Link via Amazon
Arduino Screw Terminal Adaptor: Link via Amazon
Jumper Wires: Link via Amazon
Plastic Sheet: Link via Amazon
Optional and Helpful Tools:
Soldering Iron Kit: Link via Amazon
Hot Melt Glue Gun: Link via Amazon


6. Drill/Cut/ or melt a box hole into the top of your box to fit the first servo like so:


7. Drill/Cut/Melt a hole in the side if you are using the micro to mini usb converter dongle and connect to the arduino. If not just make a hole for your usb cable to mount to the Arduino.
8. Use double sided tape to mount the arduino to the bottom of the box.

9. Drill/Melt/Cut a hole in the top for passthrough of wires into the box

10. Mount the Laser to the second servo arm with a screw and a zip tie

11. Wire the system according the the diagram below:

12. Push the first servo into the hold in the box and mount with glue or screws.
13. Screw the top of the box down.
14. Finish the system with double sided tape,zip ties and hot melt glue

15. Connect the system up to your computer and open the arduino software
16. Upload the code below to the arduino:
#include <Servo.h>
Servo s1;
Servo s2;
int rn1 =110; //random number 1 for x/y movement, set to 90 intitially
int rn2=50; //random number 2 for z movement, set to 50 initially
int rnt=5000; // random time number set to 1000 initially
int rn3=3; // random number for shake
int rn4=0; // random number for count
int rn5=0; // random number to determin if there is a shake or not
int shake1=10; // change in degrees for shake left right
int maxl=35; // max left movement in degrees
int maxr=175; //make right movement in degrees
int maxd=20; // max down movment in degrees
int maxu=75; // max up movement in degrees
int minshake=3; // Minimum shake in number of shakes
int maxshake=12; //maximum shake in number of shakes
int randshake=5; //max number for determining if there is a shake or not, 5 is one in 4 movements, 10 is one in 9, 2 is one in 2
int mindelay=1000; // minimum delay between movements in ms
int maxdelay =3000; //maximum delay between movements in ms
int shakedelay=50; // delay between x/y movements in shake
void setup() {
// put your setup code here, to run once:
s1.attach (2); // attach pin number to servo 1
s1.write (rn1); // write angle to servo 1
s2.attach (3); // attach pin number to servo2
s2.write (rn2); // write angle to servo 2
delay (rnt); // delay
}
void loop() {
// put your main code here, to run repeatedly:
// get random numbers
rn1= random (maxl,maxr);
rn2= random (maxd,maxu);
rn3= random (minshake,maxshake);
rn4=0;
rn5=random (0,randshake);
//rn1= 90;
//rn2= 90;
rnt= random (mindelay, maxdelay);
s1.write (rn1); //write angle to servo1
s2.write (rn2); //write angle to servo2
if (rn5 == 0) // Check to see if there will be a shake
{
while (rn4 < rn3) //shake while loop
{
s1.write (rn1+shake1);
delay (shakedelay);
s1.write (rn1-shake1);
delay (shakedelay);
rn4=rn4+1;
}
}
delay (rnt); //delay random value
}
// CODE END
Plug in the system and make sure it works. You may have to adjust the mounting brackets to make sure the servo is moving where you want it.

Custom made CNC router upgrade made with linear rail and 80/20 extruded aluminum. 3/4″ Plywood base which is easily replaced as it gets used. Custom E-stop, webcam, LED lighting, time lapse camera, and plaque.


Below is a video of the z-axis calibration with surface touch plate.
Video of the surface touch test after touch plate calibration.
Video of the homing sequence, moving the z-axis quickly until it hits the switch, then moving off, then moving slowly until it hits the switch for accuracy, and then moving off. The process is repeated for x and y axis movement at the same time.
Test on accuracy of the system moving 40units (each mark on the ruler was 0.5mm so total of 20cm)
Test cut with vacuum.


Silver necklace with tritium vial held within.
Available for purchase (without tritium vial due to Etsy Restrictions)
https://www.etsy.com/listing/742293843/silver-helix-necklace-made-for-tritium?ref=shop_home_active_1

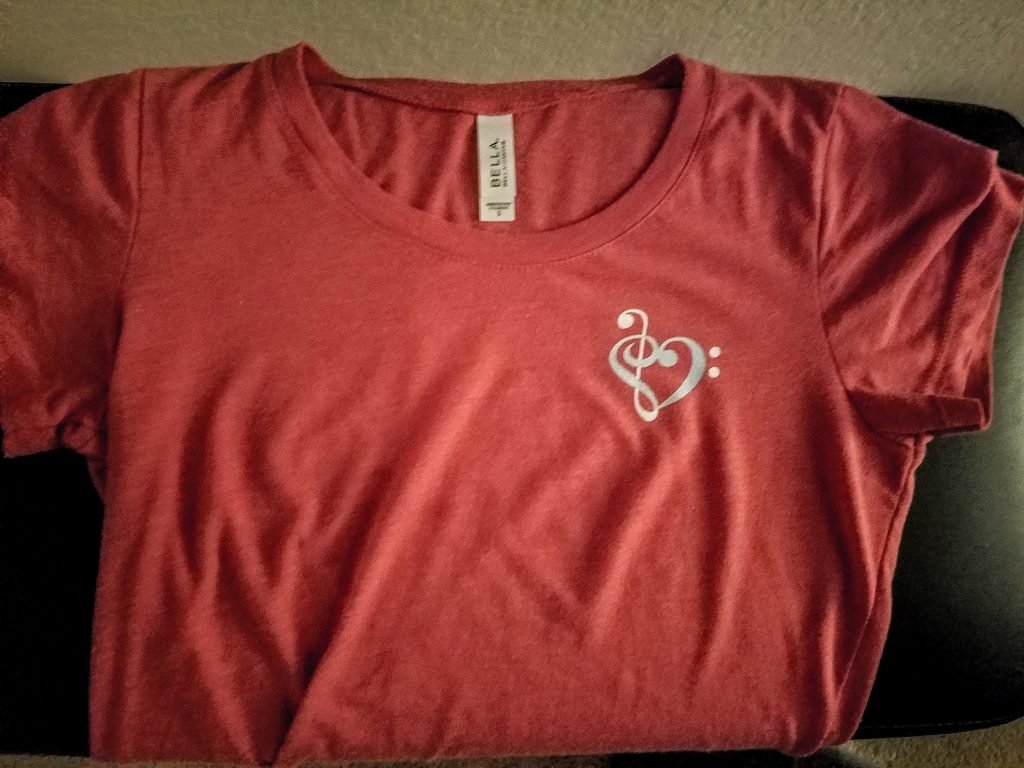
Original 2Dimensional Design Printed onto a T-Shirt
Designed into a 3D piece for Printing
Printed in Castable Wax, Plaster Mold created, and then Cast in Silver


Available for purchase at:
External Link
